Your Step-By-Step Guide to Mastering the Yoga Handstand: Part I
How to do a Yoga Handstand - Preparatory Poses, and Progression

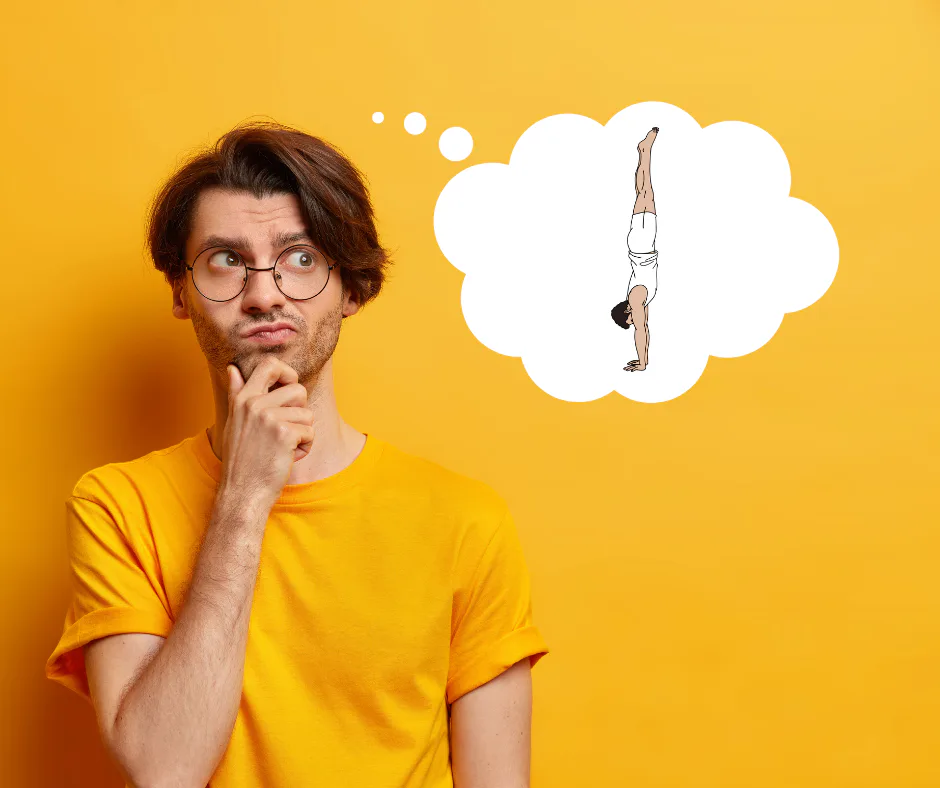
thinking imagining doing handstand yoga pose
Handstands in yoga can feel like a mountaintop experience. But how do you go about climbing that mountain, especially if you're a beginner? So if you've been asking, "How do I do a yoga handstand?" this guide is for you.
We'll explore the journey to a successful handstand from the ground up. First, let's dive into a step-by-step guide to yoga handstands, using preparatory poses, safety tips for first-timers, and progression from familiar yoga stances to a handstand precursor pose - "L" pose.
A successful Yoga handstand starts with a solid foundation: upper body, core strength, and fearless balance!

downward facing dog, plank pose and dolphin pose yoga
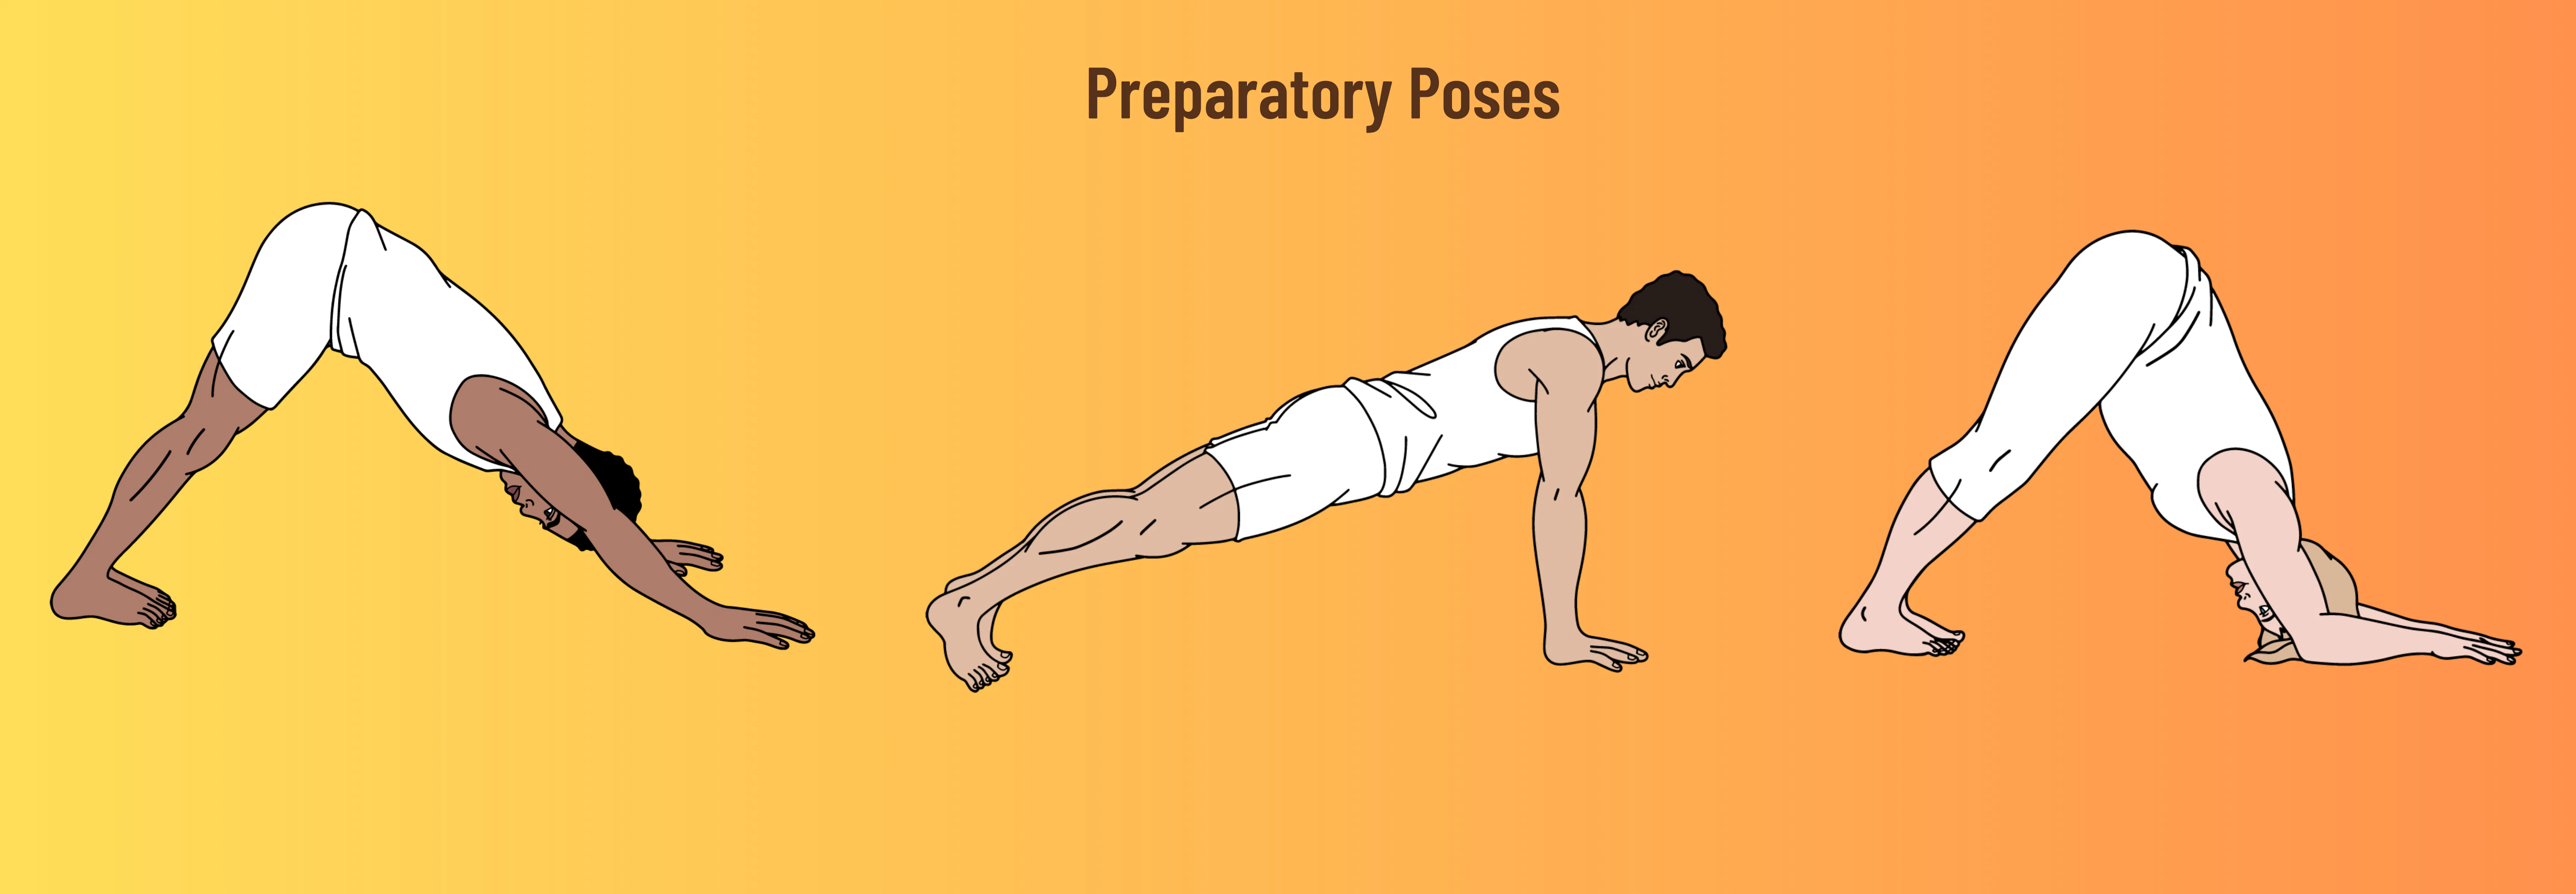
Preparatory Poses for Handstand in Yoga to build strength and Alignment
Before attempting a handstand, it's crucial to develop 1) flexibility in your shoulders and wrists; 2) strength in your arms, wrists, and shoulders to support your body on your hands; 3) to always warm up with preparatory poses. These poses are part of the process of building strength, flexibility, and balance.
Downward Facing Dog: This pose strengthens the arms and shoulders, stretches the shoulders, and teaches the feeling of being upside down, balanced with your hands on the ground.
Plank Pose: Plank pose builds core strength, which is vital for maintaining balance in a handstand.
Dolphin Pose: This pose strengthens your shoulders and arms while stretching your hamstrings – all key aspects of a successful handstand.
)%20(2).png?ixlib=gatsbyFP&auto=compress%2Cformat&fit=max&q=50&w=940&h=788)
Downward facing dog to 3-legged down dog
Down Dog to Three-legged Down Dog
Begin in a standing forward fold, hands planted firmly on the mat shoulder-width apart or wider. Next, walk your feet towards your hands until you're in a 'short' downward-facing dog. Gradually shift your weight onto your hands, and practice lifting one foot at a time into a three-legged dog, alternating feet, either change with each breath or hold each time, slowly increasing the length of the hold; hence, keep one foot off the ground - work up to a full minute. It's okay if you can only hold a three-legged dog pose for a moment at first – consistency is key. Remember, Alignment and balance are more critical than strength in a handstand, but developing enough strength to support your body in an arm balance is required. As you can sustain longer holds, begin to draw your attention to core engagement.

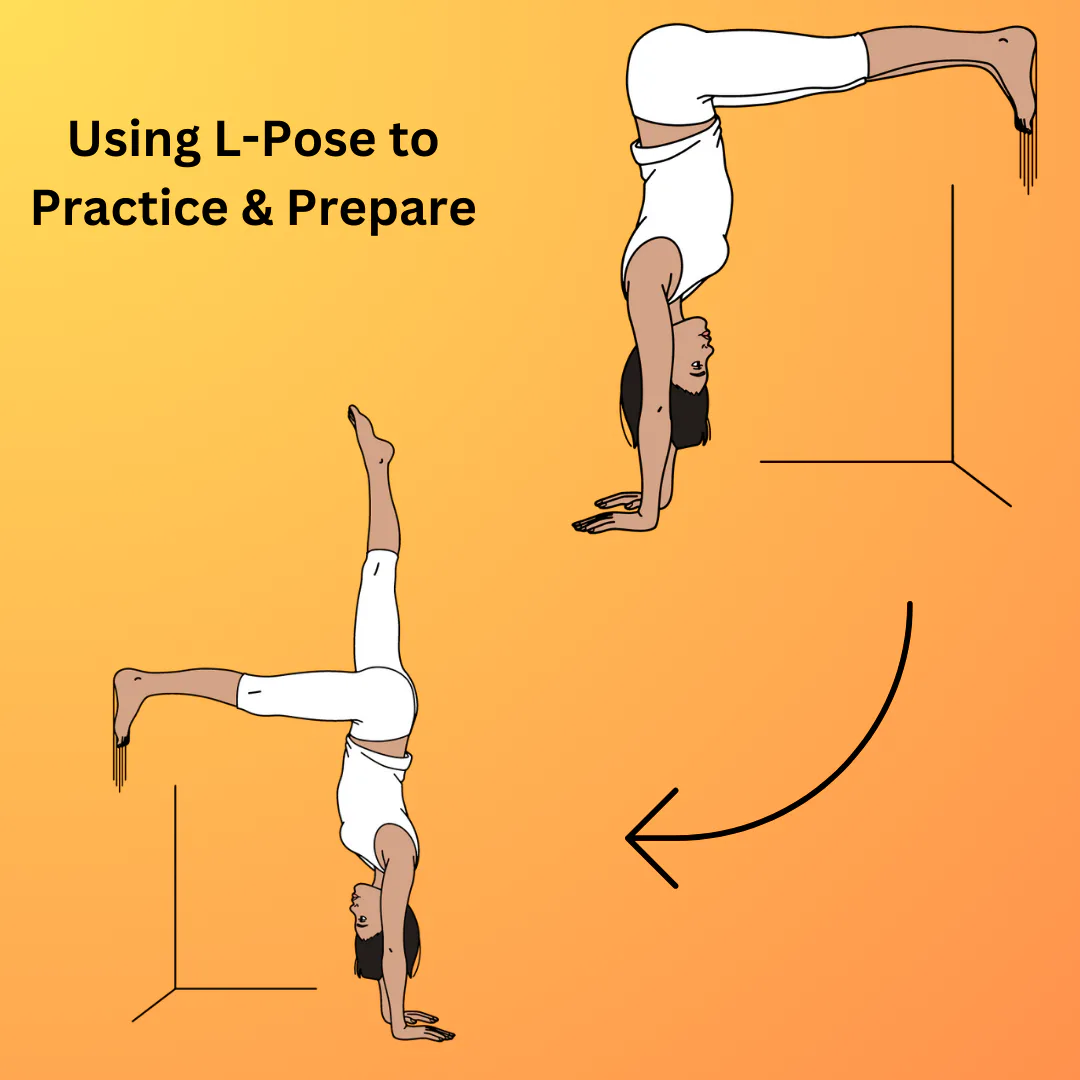
"L" pose Yoga preparatory pose for handstand
Practicing progressing from Downward Dog to "L" pose to handstand:
Once you're comfortable with the preparatory poses, it's time to progress to "L" pose, which is a type of handstand. Starting in a short Downward Dog, with your heels on the wall, lift one foot off the ground and put it on the wall with a bent knee. Engage your core, and push into the foot on the wall to lift your other leg off the ground. You may need to adjust the distance between your hands and the wall. Walk your feet up to the same height as your hips; stack your hips over your shoulders so your hips are bent at a 90-degree angle. Gaze through your arms toward the wall so your neck is long. You can stay in "L" pose as you get the full benefits of the inversion in this pose, or you can play with lifting one leg straight up toward the ceiling and keep the other foot on the wall.
A yoga handstand is a journey of strength, balance, and patience. Every yogi's journey is different, and progress is not always linear. So celebrate your victories, learn from your challenges, and enjoy the process. Your handstand awaits!
Daily Handstand prep sequence – practice for 2 weeks, gradually hold poses longer; in the second week, incorporate Down dog to “L” pose into end of the routine, before the cool-down:
Here's a simple 20-minute yoga sequence incorporating Downward Facing Dog, Plank Pose, Dolphin Pose, and Three-Legged Dog. Please remember, warming up before beginning any yoga sequence is crucial, especially focusing on the shoulders and hamstrings for this particular sequence.

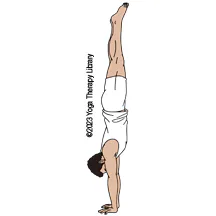
Handstand pose yoga therapy library image
1. Warm-Up (5 minutes)
Neck Stretches: Begin seated comfortably. Gently lower your right ear towards your right shoulder, then repeat on the left side. Repeat for 1 minute.
Shoulder Rolls: While seated, roll your shoulders up, back, and down in a circular motion. Repeat for 1 minute.
Seated (Dynamic) Forward Fold (Paschimottanasana): Extend your legs out in front of you and fold forward from the hip joints. Keep thepose active, by paddling your kneeds slowly so you are not stretching your hamstrins with out them being warmed up. This pose will begin to open your hamstrings. Dynamic movement for 2 minutes.
Come to hands and knees, a few rounds of cat/cow
Come to standing: Mountain Pose (Tadasana): Stand tall with feet hip-width apart, arms at your sides. Inhale arms up overhead, exhaled bring arms down,…continue moving arms up and down with your breath to warm up your shoulders further. 1 minute.
2. Transition into the Main Sequence (10 minutes)
Downward Facing Dog (Adho Mukha Svanasana): From Mountain pose, bend at the waist, place your hands on the mat and walk your feet back, pressing your heels down. Hold for 1 minute.
Plank Pose: From Downward Dog, shift your body weight forward until your shoulders are over your wrists, forming a straight line from head to heels. Hold for 1 minute.
Dolphin Pose: Lower your forearms to the ground from Plank Pose, keeping your elbows shoulder-width apart. Lift your hips high, resembling Downward Dog but on your forearms. Hold for 1 minute.
Three-Legged Dog: Return to Downward Facing Dog. Lift your right leg high behind you. Keep your hips square and your right foot flexed. Hold for 1 minute, then repeat on the other side.
3. Repeat the Main Sequence (as you progress, add “L” pose to the end of the main sequence)
Go through the main sequence once more. This repetition helps build strength and flexibility, necessary for more complex poses.
4. Cool Down (5 minutes)
Child's Pose (Balasana): From Downward Dog, drop your knees to the mat, spread your knees wide while keeping your big toes touching, and sit your hips back towards your heels. Extend your arms out in front and rest your forehead on the mat. Stay for 2 minutes.
Seated Forward Fold (Paschimottanasana): Return to this pose to stretch out the hamstrings once more. Hold for 2 minutes.
Savasana: Lie flat on your back, legs extended, arms by your sides, palms facing up. Close your eyes and breathe deeply, allowing your body to absorb the work from your practice. Stay for 1 minute or longer as time allows.
Remember, the goal of yoga is not to perform every pose perfectly but to listen to your body and adapt the practice to suit your needs. Enjoy your time on the mat!
Check out Your Step-By-Step Guide to Mastering the Yoga Handstand: Part II Safety Tips & Kicking up