Your Step-By-Step Guide to Mastering the Yoga Handstand: Part II
How to do a Yoga Handstand - Safety Tips and Kicking up!

.png?ixlib=gatsbyFP&auto=compress%2Cformat&fit=max&q=50&w=1080&h=1080)
woc pointing to safety first
Note: This is Part 2 of our Handstand Guide. Click here to check out Part 1 if you have not seen it yet!
Having progressed through the initial preparatory poses and begun practicing the "L" pose outlined in Part 1 of our series, you've already made significant strides toward mastering the yoga handstand. Your dedication to flexibility, balance, and strength training is gradually unfolding into the amazing inversion that is the handstand. In this second part of the series, we'll delve deeper into safety precautions and provide a step-by-step guide to practicing your handstand with wall support.
Safety Tips for First-Time Yoga Handstand:
As we ascend to this new level of your yoga journey, safety should always be a top priority. Below are some guidelines to ensure a safe and enjoyable practice:
Don't Skip the Warm-Up: Always dedicate sufficient time to warm up your neck, shoulders, spine, and hamstrings. Utilize the sequence from Part 1 or engage in 4 rounds of Sun Salutations to prepare your body for the handstand.
Use a Wall: Practicing your initial handstands near a wall provides a safety net and a helpful guide for correct alignment and balance. Many advanced "handstanders" always use a wall as daily factors like fatigue or allergies can affect balance.
Find a Spotter: If available, practice with a friend or an instructor who can offer additional support and feedback.
Listen to Your Body: Remember, yoga is not a race. Progress at your own pace, and never push yourself to discomfort or pain.
Mastering the Handstand: Using Wall Support for Practice
Learning to trust your body upside down can be challenging. Therefore, practicing against a wall can effectively build the required strength, alignment, and confidence.

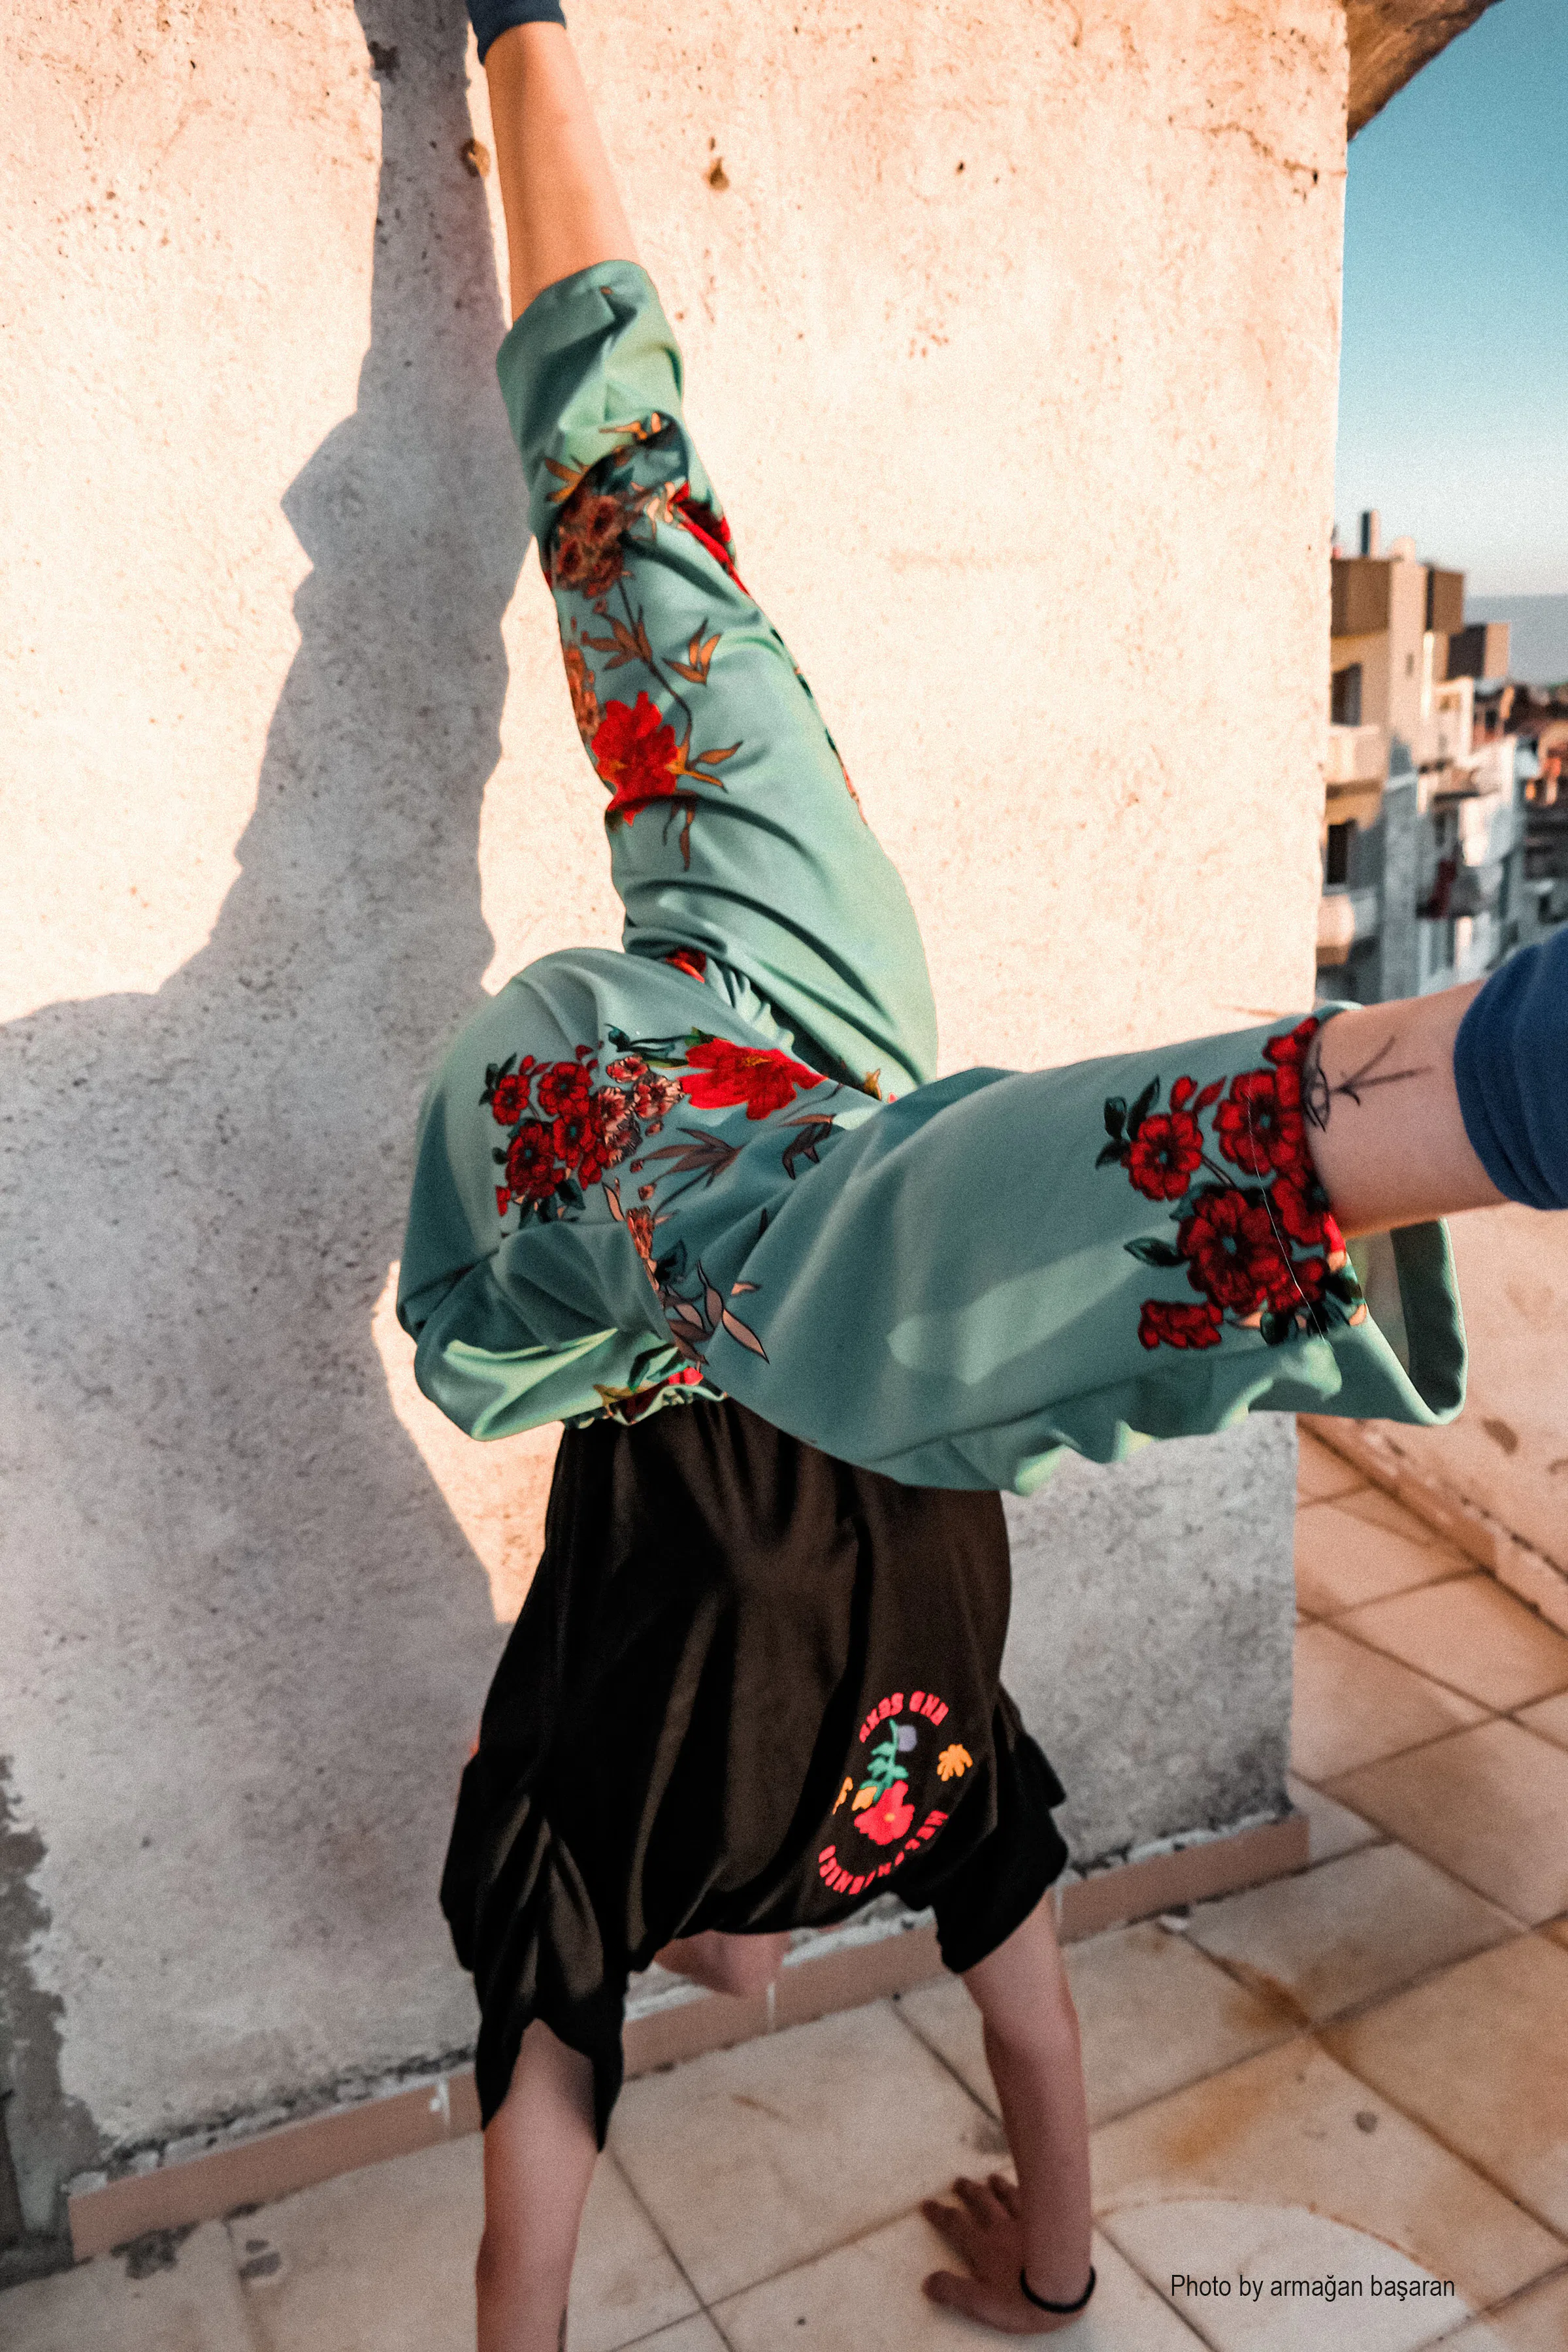
handstand Yoga pose - kicking up into a handstand
Step-By-Step Guide to the Wall-Supported Handstand:
How to "Kick Up":
Start in a lunge position, facing the wall.
Place your hands shoulder-width apart on the floor and push off your back foot to lift your legs against the wall.
Keep your movements controlled to avoid over-kicking or overbalancing.
Find Alignment: Once up, extend one leg towards the ceiling, the opposite leg bent at the knee to bring that foot to the wall. Aim for a straight line from your elbows through your shoulders, hips, and thighs. Engage your core muscles (or bandhas), and gently draw your tailbone upward to create the natural straight curvature of your spine. Push your hands firmly into the floor to help stabilize your position.
Optimal Gaze and Neck Position: Ensure your gaze is directed between your arms so that the crown of your head points towards the floor, maintaining a long and straight neck. Some find it easier to balance to slightly turn their head to look down at the floor so that the hair-line is pointing toward the floor; just avoid the urge to look toward the wall, as the severe bend in the neck can cause strain and disrupt your alignment and balance.
Exiting the Pose: When coming down, mindfully bend at the hip crease and slowly lower one foot at a time to the floor. Emphasize control and ease to avoid any risk of injury.
The wall is a useful tool in the progression toward a free-standing handstand. With time, as your control and confidence improve, you can gradually decrease your reliance on it. However, as mentioned earlier, it's always a good idea to keep the wall as an option.
Remember, the heart of yoga lies in the journey, not the destination. Celebrate progress, be patient with your body, and always prioritize proper form. With consistent practice and dedication, the joy of executing a confident handstand and the unique perspective it offers will soon be yours.

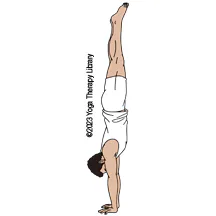
Handstand Yoga pose - yoga therapy library image